Ok, so I lied. This post will not have 101 uses for chocolate. But one day, maybe, if I build up my blog post library enough, I will have 101 uses listed, or even more. This is only one use for chocolate for now, but it is delicious and a must have for anyone and everyone who loves to bake. I say this is a slightly more advanced recipe because of how delicate the baking process is, but if you are a beginner and you follow instructions well, then you won't have a problem with it.
What are we making today?
Good question. Today, we are going to make individual lava cakes.
What are individual lava cakes? Or better, what are lava cakes?
A lava cake is generally in individual size (because it is easy to estimate the baking time for it) which is baked in a custard ramekin. It is made out of chocolate, generally regular chocolate, but I've seen ones made out of white chocolate (don't try that for this recipe because white chocolate works a lot differently than plain chocolate). It is a simple chocolate batter composed of chocolate, butter, sugar, flour, eggs and vanilla extract. Then it is baked just enough so the out shell is baked and then when you cut into it the molten "lava" oozes out. It is tastiest when still warm, and best served with vanilla ice cream, whipped cream, raspberries, strawberries, mint or any combination thereof.
The middle is still liquid, and there's egg in it, isn't eating raw egg, like, bad?
True, you could possibly get salmonella if you eat raw egg but there are some precautions that you can take, or don't even need to take necessarily. Let's list why the lava cake is ok to eat:
This is how I'm going to organize this post: first I will give you the list of ingredients, then a list of items you need or are recommended to use, and then finally the instructions of how to make the lava cake. The recipe I used can be found here. I just reduced the amount of ingredients to make ideally 4 servings of the lava cakes.
To make 4 servings (4 individual cakes):


---------------------------------
What are we making today?
Good question. Today, we are going to make individual lava cakes.
What are individual lava cakes? Or better, what are lava cakes?
A lava cake is generally in individual size (because it is easy to estimate the baking time for it) which is baked in a custard ramekin. It is made out of chocolate, generally regular chocolate, but I've seen ones made out of white chocolate (don't try that for this recipe because white chocolate works a lot differently than plain chocolate). It is a simple chocolate batter composed of chocolate, butter, sugar, flour, eggs and vanilla extract. Then it is baked just enough so the out shell is baked and then when you cut into it the molten "lava" oozes out. It is tastiest when still warm, and best served with vanilla ice cream, whipped cream, raspberries, strawberries, mint or any combination thereof.
The middle is still liquid, and there's egg in it, isn't eating raw egg, like, bad?
True, you could possibly get salmonella if you eat raw egg but there are some precautions that you can take, or don't even need to take necessarily. Let's list why the lava cake is ok to eat:
- The cake is baked at 425ºF, most harmful bacteria can't actually survive at that temperature.
- If you want to really prevent salmonella read my post about ingredients and go to the part about eggs. There is a link on how to lightly cook your eggs so to kill any and all bacteria. The post is here.
- If you want to just go with what I do and that is use the freshest eggs possible, here's a good way to determine if your eggs are fresh enough for use: take a pot filled with water, add a few tsp. of salt. Place your egg in the pot. If it sinks, the egg is pretty fresh. If it floats at the top, you're egg is not fresh at all. If it floats in the middle, it's not as fresh as it can be, but still great for consumption and use.
This is how I'm going to organize this post: first I will give you the list of ingredients, then a list of items you need or are recommended to use, and then finally the instructions of how to make the lava cake. The recipe I used can be found here. I just reduced the amount of ingredients to make ideally 4 servings of the lava cakes.
To make 4 servings (4 individual cakes):
Ingredients
Utensils
- 6 2/3 tbsp. butter
- 5 1/3 oz chocolate (use semi-sweet preferably, cut into small pieces)
- 1/3 cup all-purpose flour
- 2 egg yolks
- 1tsp vanilla extract
- 1 cup powdered sugar (if you don't want your cakes too sweet, go ahead and reduce the sugar, I sometimes will only put 3/4 cup)
- 2 eggs
There are three different methods that can be used to melt the chocolate, I will explain all three and what items you need for each method.
Items used in all methods:Directions:
Double Boiler Method:
- Metal bowl (WARNING: DO NOT USE PLASTIC!!!!! You put hot melted chocolate into the bowl, there is a chance of the bowl melting and releasing toxins that could cause cancer, I'm just looking out for you here)
- Mixing spoon (I like to use wooden mixing spoons, they are most trustworthy)
- Measuring cups and spoons etc.
- Spatula (For getting every drop of the chocolate batter, we don't want to waste food now do we?)
- Ramekins (I use ones from a box of instant lava cake batter, we used to buy the boxes and just save the aluminum ramekins, but you can use ceramic custard ramekins)
Stovetop Method:
- Pot large enough that bottom 1/3 of metal bowl is covered, but small enough that the bowl just fits over the top like a cover.
Microwave Method:
- Stovetop acceptable pot
- Microwave proof bowl, can replace the metal bowl, but once again please no plastic, it really isn't good for you.


- Preapare ramekins. Take butter and butter the ramekins, make sure the bottoms are well buttered, the sides can be lightly buttered because you can just use a knife to get the cakes from the sides, but it is much harder to get the cake off of the bottom without ruining them if they are stuck. Or instead of buttering use a baking spray to spray the ramekins. Keep an extra one ready in case you have more batter then expected.
- Melt the chocolate.
- Double boiler method: take pot and fill with water, enough so it doesn't all evaporate when boiling but not so much that it touches the bottom of the bowl when placed over the pot as a cover. Allow water to boil. Place butter into bowl and place bowl over the pot of boiling water. Let most of the butter melt. Now throw in the chocolate and mix with the butter as the chocolate melts. Keep over the pot until all chocolate has melted and mixture is smooth. Remove from pot and dry off all the condensation.
- Stovetop method: Place butter into pot/pan and place on stovetop. Melt the butter until it basically covers the bottom of the pot. Place chocolate in with the butter and allow to melt until all chocolate and butter has melted and it is mixed together well. Transfer the mixture into a bowl.
- Microwwave method: Place butter and chocolate into microwave safe bowl. Place into microwave for about a minute. Remove from microwave and stir. Place back into microwave and heat for another 30 seconds. Remove again and stir. If all chocolate and butter has not yet melted, keep replacing in the microwave for 30 seconds and removing and stirring until melted.
- For all methods: allow butter/chocolate mixture to cool slightly.
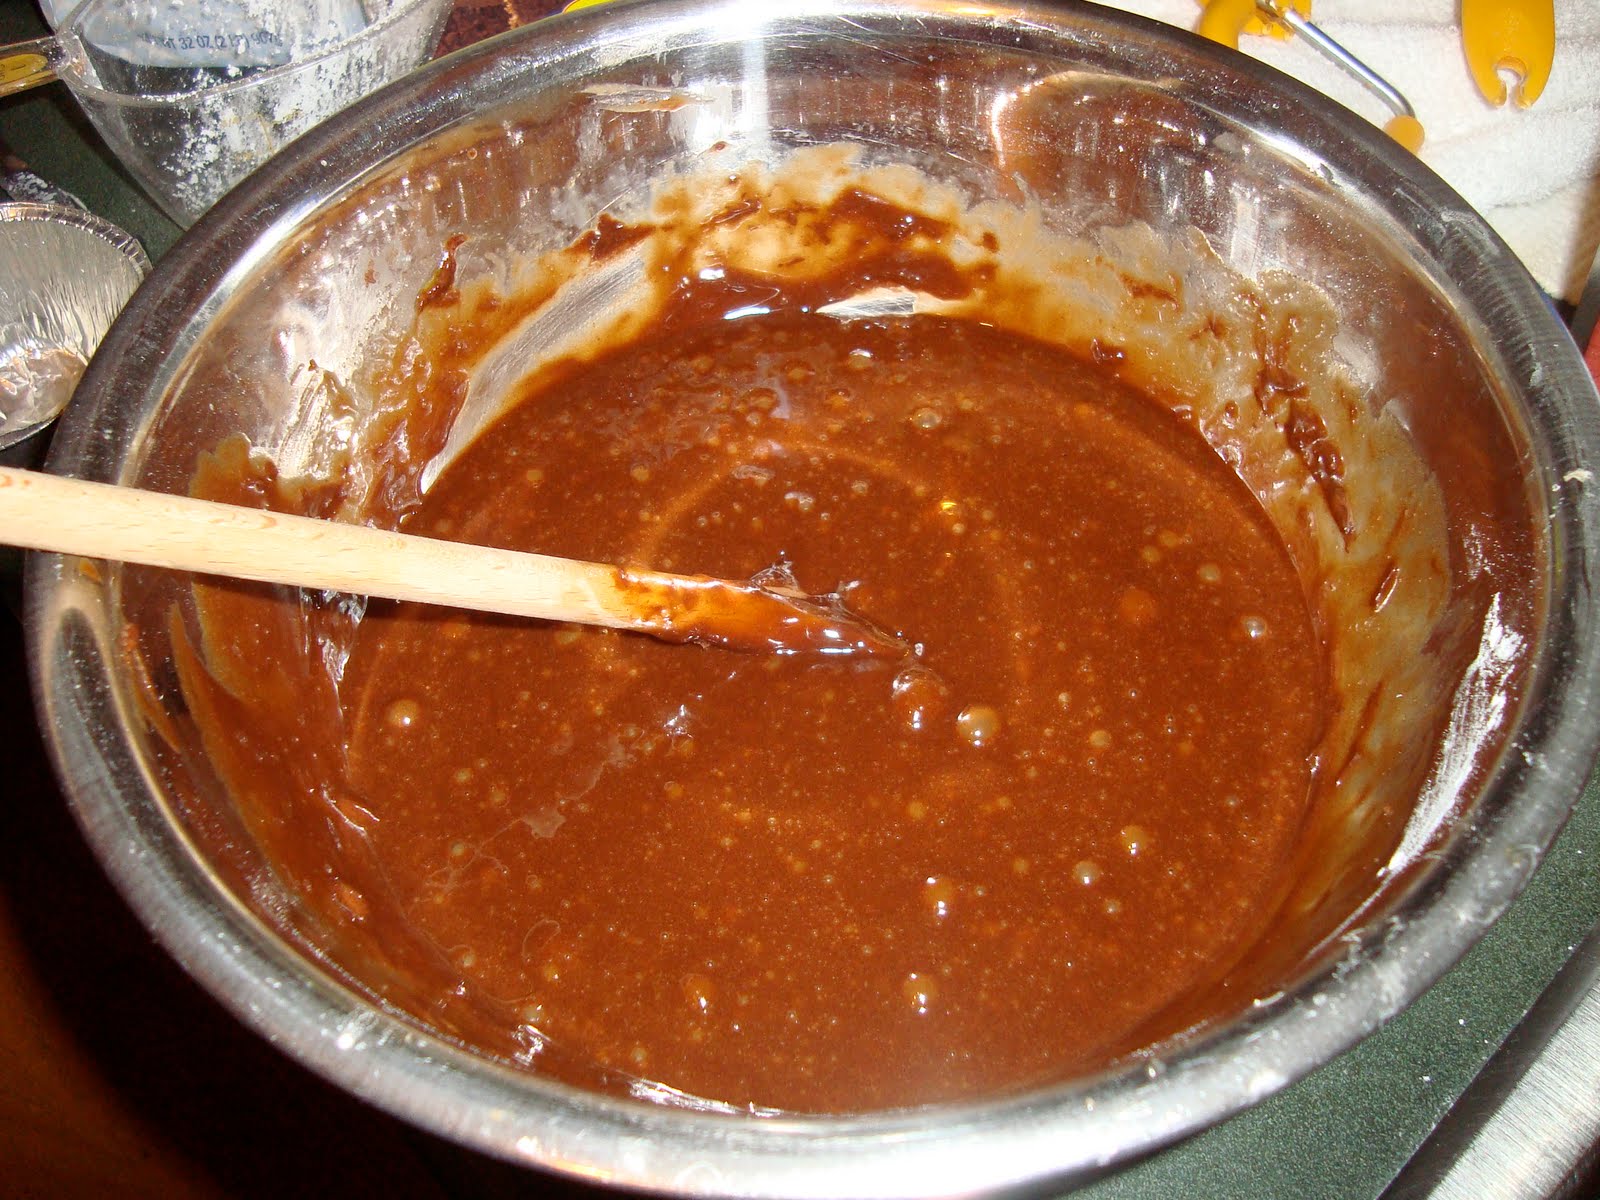
- Add other ingredients. Add the flour and mix well, make sure there are no clumps. Next take the egg yolks and beat the lightly, pour them into the mixture slowly, while simultaneously mixing (you want to do this slowly because since the chocolate is still pretty warm, you don't want to cook your eggs before you incorporate them into the mixture, because then it won't bake very well). Next add the vanilla extract. Now add your powdered sugar (make sure the batter is not too think and difficult to mix because next when you add the eggs, you will have clumps). Finally add the last two eggs. Make sure you mix it well and get rid of any and all clumps. See first two pictures.
- Pour into ramekins. Now that your batter is complete you can start dividing it into the ramekins. Don't overfill them, even though the cake doesn't blow up too much, it will grow a little and you want it pretty even with the top after it bakes. Filling the ramekins up to 3/4ths of the way is pretty good. You might need to fill your reserve ramekin, as to not waste food, it's ok. See third picture.
- Bake or store. If you want to eat your molten lava cakes right away you can get to the baking immediately. That is done by preheating your oven to 425ºF and then placing the ramekins on a baking sheet and placing it in the oven. Bake these for no more than 10 minutes. Let me repeat that: NO MORE THAN 10 MINUTES. This is essential. If you bake it too long, all the lava will be baked and it won't ooze. The center will probably still seem a bit liquidy but that's ok, it's supposed to look like that. If you want to wait, you can store your lava cakes. I put mine in the freezer so I can just take one out and have one whenever I'd like one. Make sure to cover them with aluminum foil or plastic wrap. TIP: If you do put them in the freezer for later use, when you take them out they won't be fully solid but won't really be as liquid-y as when you poured them into the ramekins. Allow them to come to room temperature first and for them to be about as liquid-y as they initially were. This process can be sped up as follows: Take a bowl, place unbaked lava cake into the bowl, fill around the ramekin with hot water be careful not to get any water into/onto the cake, then take a spoon and mix the center out so the center part warms up a bit as well. Then you can take the now room temperature ramekin, place it on a baking sheet and bake for 10 minutes at 425ºF. See fourth picture for storing.
- Remove from ramekin. You can actually leave the cake in the ramekin, but it is more fun to see the chocolate ooze out onto your plate so to remove it from the ramekin, allow the cake to cool for about five minutes after removing from oven, don't use any speeding techniques because you want your cake to still be warm when you eat it and not cold. Take a knife and run around the edge of the ramekin to make sure the cake comes out smoothly. Take the plate on which you want the cake and place it over the top of the ramekin. Then holding the plate and ramekin together, flip them together at the same time. Then slowly lift off the ramekin, if the cake stays in place on the plate, you can just remove the ramekin and all is good. If the cake if lifting up with the ramekin as you pull it off try tapping the top lightly and see if that helps, otherwise take a cold (wet with cold water) paper towel and hold it on the top until the top cools a bit and then try lifting, it should help it a little.
- Garnishing. A final step can be taken and that is presentation which is garnishing. You can garnish your lava cakes with a lot of different items. Add raspberries, strawberries, whipped cream (make your own, steps to do so following), vanilla ice cream (or any type of ice cream you want, but vanilla is ideal because the lava cake is so chocolatey, that you don't want to take away from that with some other crazy flavor, especially chocolate), mint leaves, sprinkled powdered sugar, or any combination of those, or whatever you like to use for garnishing desserts.


Making your own whipped cream for garnish.Take out some heavy cream, pour it into a bowl, eye it. Add powdered sugar, this is really by taste preference so when you start whipping in then you can taste it and if it isn't sweet enough, add more sugar, once again, eye it. Then take either an electric beater, or a whisk and start whipping that cream. It will first become frothy and then it will start making nice peaks. DO NOT OVERBEAT: overbeating will result in sweetened butter, and we want whipped cream and not butter. If you want to make a fun design/shape, place the whipped cream into a pastry bag fitted with a drop flower decorating tip or closed star decorating tip, and then pipe to your heart's desire!
That is all you really need to make the perfect lava cakes. Enjoy!
Keep eating sweetly! :)

No comments:
Post a Comment